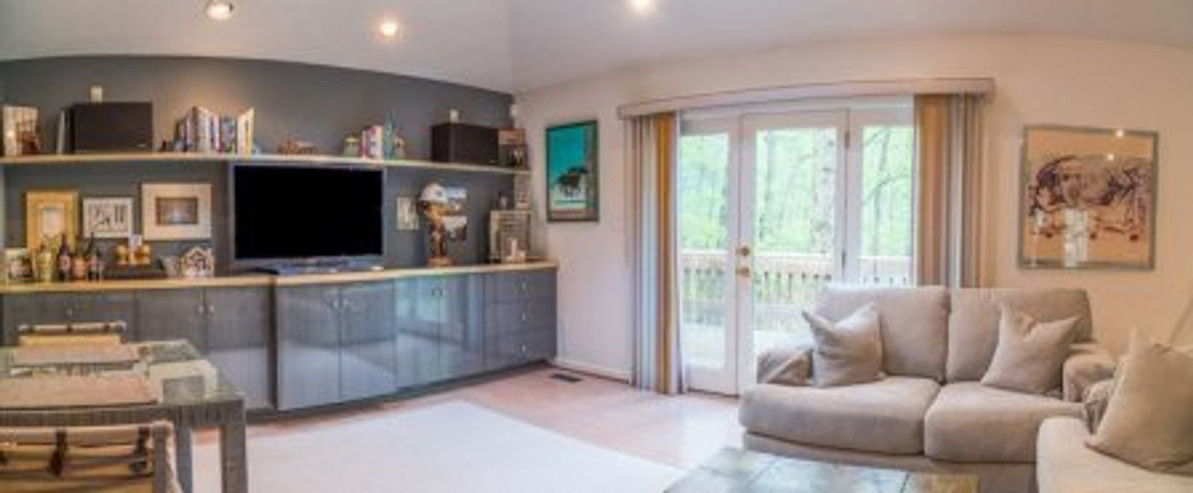
Six Tips to Get You Started in Architectural Photography
Architectural photography is an exciting field that blends technical skills with artistic vision. Whether you’re shooting iconic city landmarks or capturing the intricate details of modern buildings, architectural photography can be a fulfilling and rewarding endeavor. With the right knowledge and tools, you can elevate your photos and create stunning visuals that showcase architectural beauty. If you're new to this genre, here are six tips to help you get started in architectural photography.
1. Understand the Importance of Lighting
Lighting plays a crucial role in architectural photography, much like any other genre of photography. The best times to capture architectural images are during the "golden hour," which is just after sunrise or before sunset. During these hours, the light is softer and warmer, creating long shadows that can add depth to your images. Overcast days can also provide excellent lighting for architectural photography, as the diffuse light reduces harsh shadows and brings out more details in the structure.
Consider experimenting with different times of day to see how the building changes under various lighting conditions. You’ll be surprised at how dramatically the mood of the photo can shift with just a change in lighting.
2. Use a Wide-Angle Lens for Greater Impact
A wide-angle lens is a must-have tool for architectural photography. This type of lens allows you to capture large structures and tight spaces with ease, providing more flexibility in framing your shot. When shooting tall buildings or interiors with limited space, a wide-angle lens will help you capture the full scope of the architecture while maintaining sharpness and clarity.
Keep in mind, though, that wide-angle lenses can introduce distortion, especially when shooting at close range. To minimize this, try to shoot from a distance and avoid tilting your camera too much. This will help reduce the "leaning" effect that often occurs with wide lenses.
3. Focus on Composition and Symmetry
Architectural photography thrives on symmetry and clean lines. When composing your shot, be mindful of how elements in the scene align. Leading lines, such as roads or railings, can draw the viewer’s eye towards the building or focal point. Symmetry can create a sense of balance and harmony, making your photos appear more polished and professional.
Take your time when framing your image, ensuring that elements like windows, doors, and columns are properly aligned with the horizon. Pay attention to both vertical and horizontal lines to avoid any awkward angles or slanted compositions.
4. Capture the Details
While wide shots of buildings are important, don't forget to capture the smaller details that make the architecture unique. Intricate facades, decorative elements, and textures can tell a story about the building's design and history. These details often get overlooked in wide-angle shots but can add depth and richness to your portfolio.
When shooting the details, get close and focus on the textures, colors, and patterns. Whether it's the curves of a staircase or the intricate design of a doorframe, these shots can give a fresh perspective on the building you're photographing.
5. Post-Processing to Enhance Your Images
In architectural photography, post-processing can significantly improve the final result. After capturing your images, spend some time in editing software like Adobe Lightroom or Photoshop to enhance colors, adjust contrast, and correct any distortion. Cropping the image can also help remove distractions and improve the composition.
A common editing technique in architectural photography is correcting vertical lines. When photographing tall buildings, the perspective can make the lines appear to converge, creating a distorted effect. Use lens correction tools in post-processing to straighten these lines and give the building a more natural look.
6. Display Your Work with Canvas Prints Australia
Once you've mastered the art of architectural photography, it’s time to display your work! A stunning photograph deserves to be showcased in a way that highlights its beauty. Canvas prints Australia offer a fantastic way to turn your architectural images into art pieces that can be displayed in homes, offices, and galleries. The texture and depth of a canvas print bring your photographs to life, enhancing the fine details of your composition.
By printing your architectural photos on canvas, you can create a timeless piece of art that resonates with viewers. Whether you're showcasing a landmark building or a quiet interior space, a canvas print will provide a lasting impression and allow your work to shine.
Conclusion
Architectural photography is a rewarding genre that requires both technical knowledge and a keen artistic eye. By following these six tips, you can start capturing breathtaking images of buildings and structures that showcase their beauty and design. Don't forget that once you've perfected your shots, turning them into canvas prints Australia can help you share your work with the world and create stunning pieces of art that will last a lifetime.
Recent Posts
-
Canvas Prints for Australian Businesses: Enhancing Branding, Offices, and Reception Areas
In today’s competitive business landscape, creating a memorable and professional impression is cruci …18th Dec 2025 -
The Ultimate Guide to Designing a Canvas Prints Gallery Wall for Beginners
Designing a gallery wall can feel overwhelming, especially if you have never done it before. Questio …15th Dec 2025 -
Why Panoramic Canvas Prints Are the Best Way to Display Your Travel Photography
Travel photography is more than just images saved on a phone or hard drive—it represents memories, e …15th Dec 2025
