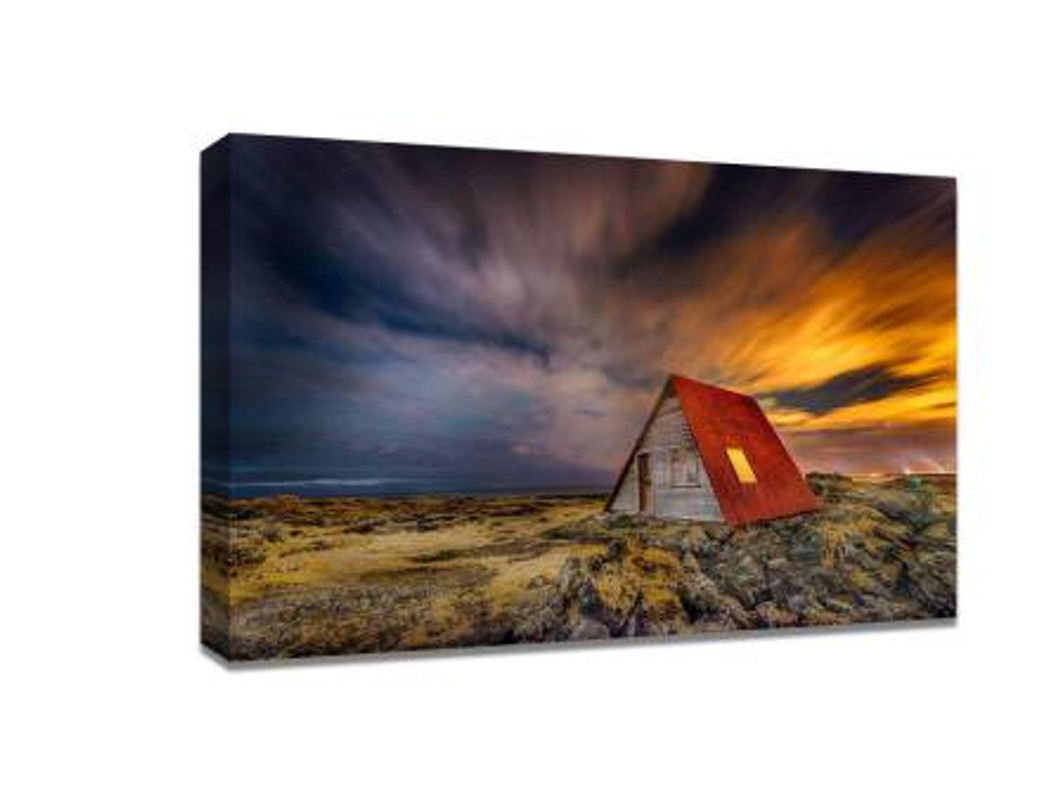
Simple 4 steps to take good night scenery photos
Compared with the well-lit day, the night scenery has a different atmosphere, and can also capture different colors of light and shadow. As long as you follow these steps slowly, you will be able to take a good picture at night
Choosing right location in advance
Take advantage of daylight and choose your location in advance. If you shoot directly at night, it must be time-consuming and laborious. The good scenery is mostly in the suburbs. You have to find a convenient place to park your car. It is also important to note that if you need to break into someone's yard or field in order to find a good shooting Angle, you should say hello in advance. The farther away you are from the city, the easier it is to take a good picture of the natural scenery. Avoid as far as possible the lamplight of urban area, such ability pat a bright star moon, use slow door to pull the color shade tone that unaided eye differentiates hard.
Bring everything
"The body is the capital of photography." Make sure you are in good health before you think about taking good pictures. Although the weather is very hot now, but the temperature difference between morning and evening is quite big, it is better to take a coat and wear socks. If it is in other seasons, pay more attention to keep warm. A tripod is essential for shooting night scenes. Take scenery, multi-purpose wide Angle lens, you can also carry different lenses according to personal preferences. You'd better bring a spare battery.
In addition, bring some light source, using high intensity flashlight to illuminate the foreground, to help the camera focus accurately; You can also use LED lights to adjust the exposure, but the wattage of the light should not be too high, and also pay attention to the color and light Angle, so as not to destroy the overall atmosphere of the picture.
Framing and composition
Due to a severe lack of ambient light, all that is visible to the naked eye through the viewfinder is blackness. You can first determine the surrounding environment through a long exposure test shot, to design the composition. For example, take a 30-second shutter shot. Even if the photo is still dark, it's much brighter than what you can see with the naked eye.
It was still very dark, but at least you could see the outline
One of the great attractions of night photography is the interesting tone, color and texture of the sky, which is different from day to day and from time to time. Clouds are most beautiful when they are in the sky, especially when they are moving after a long exposure. Therefore, it is better to leave more space for the sky. If you ask me "how long does it take", I'll tell you it takes longer because clouds don't move very fast and there's no need to worry about overexposure at night in very low ambient light.
Dynamic clouds
In addition, pay attention to the stars or the moon in the right place in the sky, will make the night sky more beautiful. An interesting prospect is what makes a photograph stand out. Having a tree in the foreground can help avoid a hole in the picture
Start shooting!
The most important thing is to make sure that the main focus is clear. Turn on the flashlight to illuminate the main body and help the camera focus automatically. With manual focus, it is difficult to keep the subject sharp because the light is too dim to see clearly. Alternatively, you can focus on other brighter objects, such as the horizon, a light in the distance, and sometimes even on bright stars.
For long exposure, you need to set the camera to B gate mode, which controls the exposure time by manually opening and closing the shutter. Depending on the light conditions, shutter speeds generally range from two to three to 15 minutes. Long exposures bring out colors that are invisible to the naked eye and brighten up stars and clouds. In general, we set the ISO to the lowest 100, but the exposure time is very long, and the photos may still form noise (mainly thermal noise).
Saving your photos as RAW as possible in the early stages so that you can adjust your exposure and noise later.
Recent Posts
-
Affordable Large Canvas Prints: How to Find Cheap Canvas Prints Without Compromising on Quality
If you’ve ever thought about decorating your space with large canvas prints, you might have he …18th Feb 2025 -
Cheap Canvas Prints for Painting: Affordable Art Supplies for Every Artist
For artists, finding high-quality yet affordable materials is essential to fueling creativity withou …17th Feb 2025 -
Floating Frames for Canvas: Elevate Your Wall Art with Style
When it comes to displaying canvas art, the right frame can make all the difference. Floating frames …14th Feb 2025

