Silhouette photography tutorial
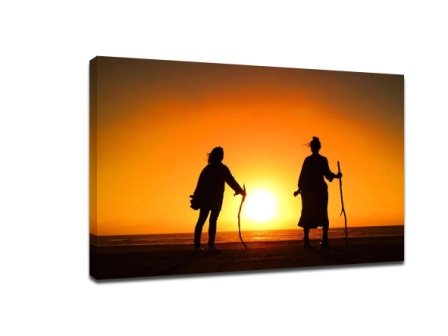
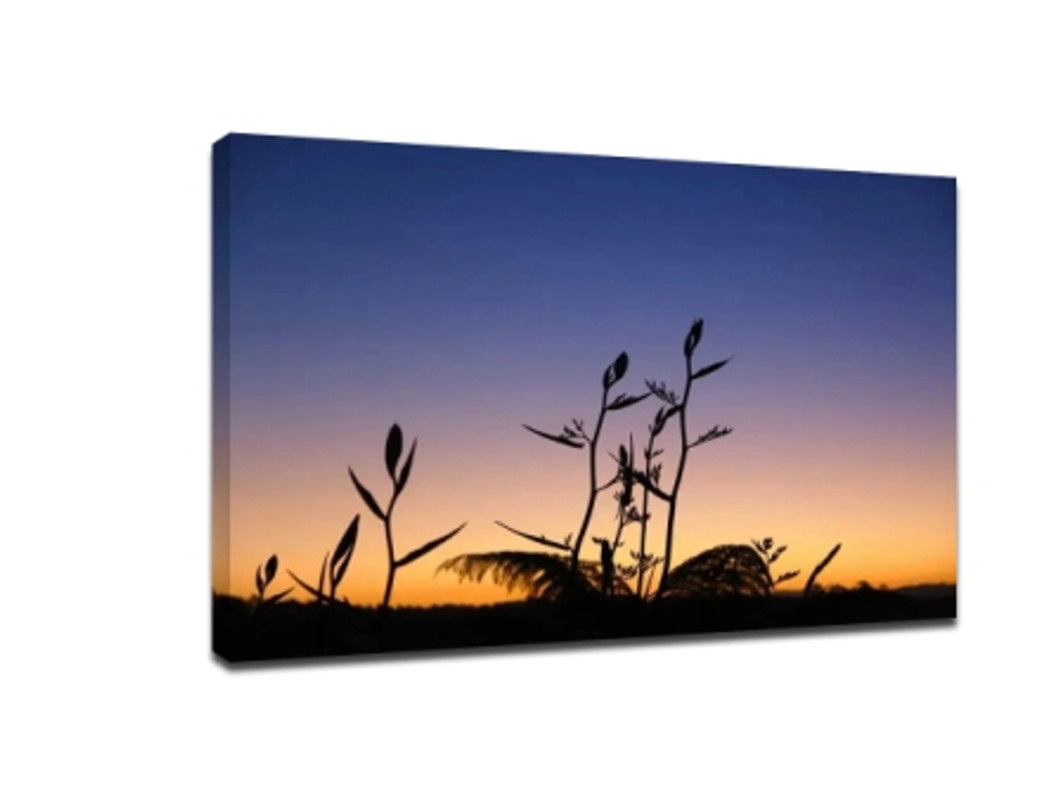
Silhouette photography is a very interesting subject, which can create a very interesting dramatic effect. Today, I would like to share with you some silhouette photography, hoping to be helpful to you.
First, the conditions of silhouette photography
(1) Backlight environment or large light difference environment, such environment is conducive to the shooting of silhouette subject matter. I've made a schematic, so you can look at it.
The Angle between the light source and the ground should be as small as possible. You can see that most of the silhouette themes are shot at sunrise/sunset, because the Angle between the sun's light and the ground is small at this time, which can create a very beautiful silhouette effect.
(3) The screen as simple as possible, shooting the silhouette picture to be as simple as possible; Too many screen elements will appear in a large area of pure black part, very ugly. So we try to find the lake, the sea, the flat land and so on.
We need to try to simplify the picture when shooting, do not let the black proportion is too large, so that the picture will be good.
Two, shooting skills
You don't need to control the exposure to shoot the silhouette; you just need to control where the light is measured. Because the silhouette theme does not require you to balance the exposure of the picture, instead, it requires you to enhance the light difference ratio, so that the dark part of the picture presents a pure black state and the bright part presents a normal exposure state. Therefore, you can use point metering when shooting and measure light against the bright part of the picture. In this way, the bright part of the picture will be exposed normally, while the dark part of the picture will be compressed into a pure black state.
Change the metering point and measure the light at the bright part of the picture, which not only retains the details of the sky, but also makes the dark part appear pure black. A silhouette photo can be taken directly: you can find an open place to take a silhouette subject, and you can do all kinds of interesting actions. The silhouette photo taken is not only beautiful but also interesting:
Scene selection
In order to take a good silhouette photo, the choice of scene is very important. Generally speaking, the selected scene should meet the following conditions.
It must be in a backlight environment, and there must be no reflective objects in front of the subject. If there is a reflective object in front of the subject, it will reflect the light back to the subject and destroy the silhouette.
(2) The Angle between the light and the ground should be as small as possible. If the Angle between the light and the ground is too large, the effect is not obvious or the edge of the silhouette is not clear.
(3)There should be no occlusion between the subject and the light source. If you have occlusion, then the silhouette photograph you take is the silhouette photograph of the occlusion object, not the silhouette of the subject. If you can't avoid it, use the upshot, which lowers the Angle of the block.
(4) The best time to shoot silhouette is early morning and dusk, the light of these two periods is soft, low Angle, and at this time there are no all kinds of reflected light and stray light. Take a silhouette. Go outside and find an open space, so you'll have a better chance of getting a good silhouette.
Second, the composition of a picture
There are two points to pay attention to in the composition of silhouette photography. One is to choose a lower camera position as far as possible to shoot, that is, to shoot from the back or the flat. Because an upshot or a flat shot pulls down the horizon and brings more of the sky in as the background. In addition, when shooting a silhouette, you can lengthen the lines of the portrait, making the model look taller.
The second is to pay attention to white space, that is, do not let your subject occupy the screen too slowly, try to give some space to the bright background, because there is a large area of black in the screen, the screen will be very ugly.

Third, shooting skills
This step is the most important and the most technical. First of all, you have to choose a shooting mode. I usually use aperture priority mode (AV). After selecting the shooting mode, you have to do the following.
(1) Sensitivity setting: the background of silhouette photography is bright, the subject is all black, and so there is no need to increase the sensitivity to increase the amount of light. Instead, you need to lower the sensitivity to ensure quality.
2. Aperture setting: If you want a silhouette with a clear body, set a smaller aperture such as F /8, F /10, etc. If you want a silhouette that has a star-awn effect, you need to turn down the aperture to get the star-awn effect.
Conclusion: The above is today to share the content, I hope to help you, and you remember to shoot the silhouette theme, the simpler the better, the easier the film.
Recent Posts
-
Why Perspex Sheets Are Ideal for High-Quality Digital Prints
In the world of modern printing, perspex printing has become an increasingly popular choice for high …17th Apr 2025 -
Top 5 Benefits of Using Custom Ceramic Coasters Over Other Materials
When it comes to protecting your furniture from water rings, spills, and stains, coasters are essent …17th Apr 2025 -
Cheap vs. Expensive Canvas Prints: Is It Worth Paying More?
When it comes to decorating your home or office, canvas prints are a popular choice. They offer a be …17th Apr 2025
