Seascape photography skills
One of my favorite places to shoot is the seaside, because there are so many different scenes, and it's easy to get to. I am very lucky to live in the island country of New Zealand. Even in a big city like Auckland, there are a lot of beaches. In this article, I will introduce you to some tips for taking beautiful sea photos.
The composition
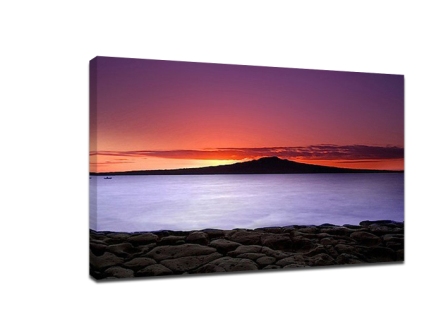
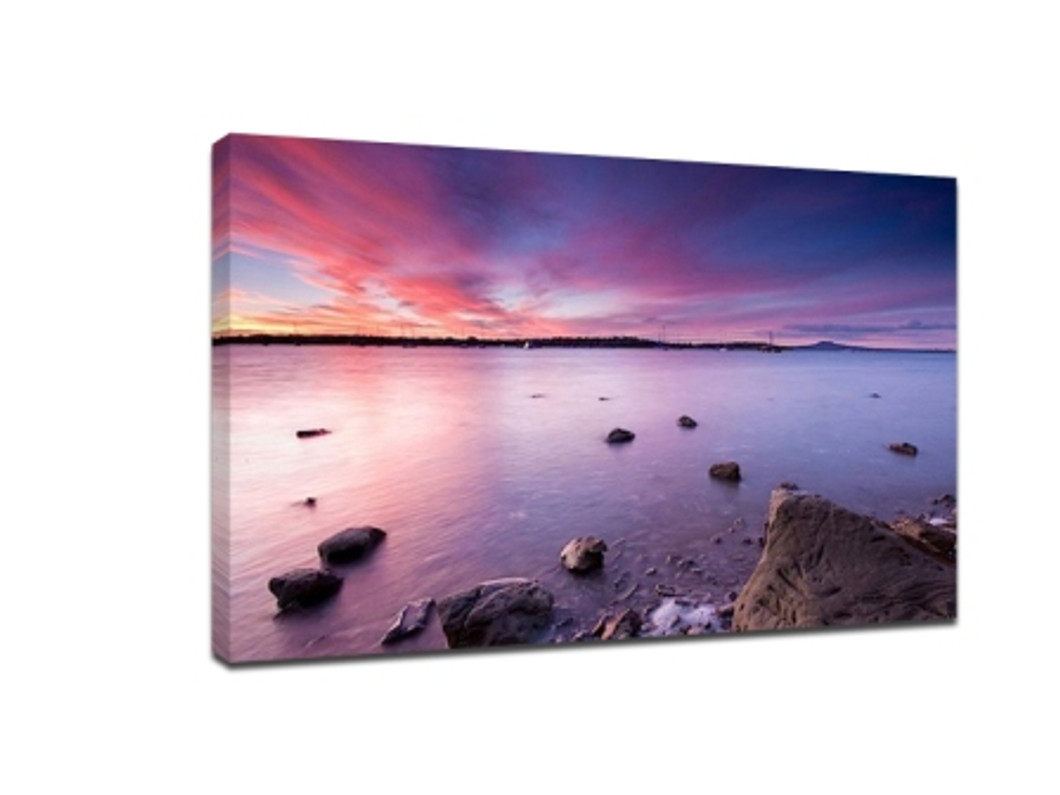
As with any genre, it's a good idea to have some interesting elements in the foreground. When shooting on the beach, you can use an interesting shaped rock or rock formation as the foreground. Note, however, that you don't just let the stones appear in the picture, you need to find an arrangement or pattern that will lead the viewer's eye into the picture. You can try various angles, higher or lower, to see what works best.
Some beaches have high cliffs, which can also be used for great photography. Using rock formations or cliffs as a prospect is also a good idea. Sometimes it's best to keep things simple. Wet sand provides a good reflection and is best shot at low tide, when there are fewer footprints on the sand. Of course, you can't list all the possibilities here. One of the reasons I love shooting seascapes is the endless variety. You can find different experiences on every different coast.
And don't be afraid to get your feet wet. Sometimes the best composition requires you to stand in the water.

The shutter speed
Shutter speed is one of the things that need to be carefully considered when taking seascapes. For any photo with flowing water, different shutter speeds can create a completely different effect. The fast shutter speed can freeze the instantaneous motion and capture the splashing water droplets. A typical shutter speed can be 1/20s or higher, depending on the flow of water. This is a common method of photography among non-photographers, but it is not the whole picture.
A slower shutter speed can make the water appear somewhat blurry. Also depending on the velocity of the water, it usually works around 1/2s. At this speed, the surface of the water retains some detail, but you can already see the blurring effect of the flow.
When the shutter speed exceeds 1 second, the water starts to look like fog or milk. Although some people don't like this effect, I love using it. The following image was taken using a 4S shutter release. How much shutter speed you choose is a matter of personal preference. Sometimes the light will affect the shutter release you choose, but it depends on how you want it to look.
A filter
The two filters I use most often for sea views are a gradient grey and a neutral grey. The gradient grey mirror is used for situations where the dynamic range of the scene is too large. This happens at sunrise or sunset when the sky is much brighter than the foreground. The gradient grey mirror is half transparent and half neutral with a smooth transition in the middle. The two exposures are balanced by "covering" one half of the neutral grey mirror against a brighter sky and covering the foreground with the transparent half. If you don't have a gradient gray mirror, you can also expose the sky and foreground separately and then compose. Neutral grey mirrors are used to reduce the brightness of the whole picture. If you want to use a slower shutter speed, but the field light is brighter, you may want to use a neutral gray lens.
Recent Posts
-
Bring the Ocean Home: Queensland Great Barrier Reef Photos on Canvas Wall Art Prints
Australia’s Great Barrier Reef is one of the world’s most breathtaking natural wonders. Its kaleidos …16th Sep 2025 -
Capture the Beauty of Gold Coast with Photography on Canvas Prints
Why Choose Gold Coast Photography on Canvas Prints? Gold Coast is one of Australia’s most iconic des …16th Sep 2025 -
The Charm of Zebra Painting Art Prints: A Unique Touch for Your Home Décor
When it comes to adding a unique touch to your home décor, few things capture attention like zebra p …16th Sep 2025
