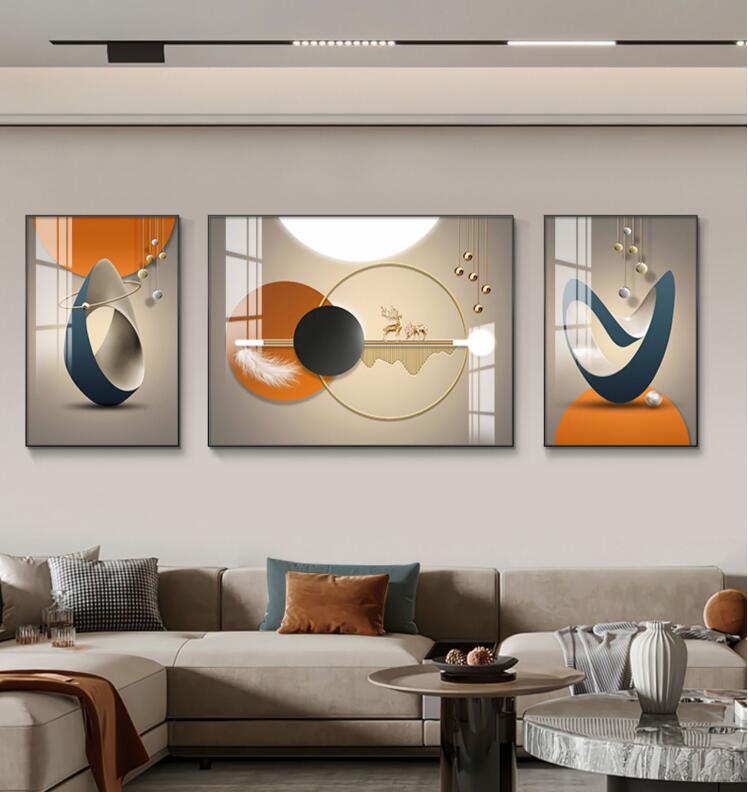
How to Create a Multi-Panel Canvas Print
Multi-panel canvas prints are a unique and stylish way to display your favorite photographs or artwork. These prints consist of multiple canvases, each with a portion of the image, which when hung together, create a beautiful and cohesive display. In this article, custom canvas online will provide step-by-step instructions on how to create a multi-panel canvas print.
The first step in creating a multi-panel canvas print is to choose your image. You should select an image that has a clear focal point and is visually interesting. Keep in mind that the image will be split across multiple canvases, so choose a photo that has enough visual interest to hold up when split into multiple panels.
The next step is to determine the number of panels you want for your canvas print. This will depend on the size of the image and the size of the canvases you are using. A common configuration is three panels, but you can use as many or as few panels as you like.
Once you know the number of panels you want, you can choose the size of the canvases. You can purchase pre-made multi-panel canvas prints, but if you want to create a custom print, you will need to purchase individual canvases. Make sure the size of the canvases is appropriate for the size of the image and the number of panels you have chosen.
Before you can print the image onto the canvases, you need to prepare it. Open the image in your preferred photo editing software and crop it to the desired size and shape. Then, divide the image into equal sections based on the number of panels you have chosen. Make sure to keep the focal point of the image in the center of one of the panels.

Once you have prepared the image, you can print it onto the canvases. You can do this at home using an inkjet printer or take the image to a print shop that specializes in canvas prints. Make sure to use high-quality ink and paper to ensure that the image looks its best.
After the image has been printed onto the canvases, it's time to stretch them. Start by laying the canvases face down on a flat surface. Then, place a wooden stretcher bar along the edge of each canvas and fold the excess canvas over the bar. Use a staple gun to attach the canvas to the stretcher bar, pulling it taut as you go. Repeat this process for each canvas.
Once the canvases are stretched, it's time to mount them on the wall. Start by measuring the distance between the canvases and marking the wall where each canvas will be hung. Use a level to ensure that the canvases are hung straight. Then, use a nail or screw to mount each canvas onto the wall.
The final step is to add any finishing touches to the canvas print. This could include adding a frame to each canvas or applying a protective coating to the print. You can also add additional decorative elements, such as lights or other embellishments, to enhance the overall look of the print.
Creating a multi-panel canvas print is a great way to showcase your favorite photographs or artwork in a unique and visually striking way. By following these simple steps, you can create a custom canvas print that is perfect for your home or office. Whether you choose to use three panels or ten, a multi-panel canvas print is sure to make a statement and become a focal point of any room.
Recent Posts
-
The Different Types of Canvas Prints: Matte, Glossy, and Textured Finishes Explained
When shopping for wall art, many customers focus on image quality and price, but often overlook one …4th Jan 2026 -
The Emotional Power of Canvas Prints: Turning Memories into Meaningful Wall Art
In a digital-first world where thousands of photos live unseen on phones and hard drives, canvas pri …4th Jan 2026 -
Why Do Some Canvas Prints Look Blurry? Common Mistakes and How to Avoid Them
Many customers invest in canvas prints expecting crisp detail, vibrant colour, and gallery-quality r …3rd Jan 2026