7 iPhone photo shoot tips
7 iPhone photo shoot tips
Fuzzy when used in the iPhone photography is one of the most common problems encountered. However, once you understand the picture of the main causes of fuzzy, can completely prevent taken easily blurred picture. Next to introduce you to a few simple and effective techniques, to help you with the iPhone in any light condition more clearly canvas prints.
1. Set good focal length for the subject
Focal length Settings is one of the most common reasons for photo eventually appear blurry, focus problems can be in any light condition affect the photo. If you're like most people, you may rely on automatic focusing to finish filming, which in most of the time, the effect is good. Sometimes automatic focusing, however, let you down; you might get similar to the above photo images. In order to obtain the best results, you should pass by touch screen Settings in the iPhone camera application manually focal length.
2. Make sure the light is enough
The evening may take clear pictures with the iPhone, in general, when photos appeared in the more light, the effect will be better. In the case of insufficient light (for example, indoor when shooting), less light reaching the camera sensor, in order to make enough light to reach the sensor to create an image of exposure is proper, the shutter must be longer to remain open. The shutter open during any action (including iPhone movement and the movement of the subject itself) will cause the photos blurry, shutter release, the longer the more action may (cause fuzzy more). When the iPhone is not started manually adjust the shutter speed, the shutter open when the light is enough to keep even less time. So if you can take measures to increase the canvas prints the light in the photo (outside shooting or turn on the light, for example), you will get a more clear picture.
3. Avoid hand shaking,
Of course, sometimes is unlikely to increase the amount of light in the scene, to take pictures at this time to avoid the jitter of the iPhone. Please make sure that the hands hold the iPhone support hands and have a solid object. Any external building (such as table or tracks) can be used to support the wrist and elbow, also can the body against the wall. When no external things to support, you can also have a try to arm on his knees, or elbows on the waist. Of course, if you take pictures, taken the effect will be much better. Slowly take pictures can ensure perfect posture comfortable when framing and hold on the iPhone, this will help you avoid unnecessary action.

4. Use solid tripod
Without any equipment, using high quality tripod is to avoid any photo movement (fuzzy) and the best way, it can keep the iPhone to a certain extent on the firm. With a tripod for your photos, of course, without some natural, but also let you get amazing results, especially when there is a landscape picture and long exposure time. When combinations of tripod and iPhone, I recommend using even in the rock or ice can keep iPhone solid formal tripod to shoot landscapes.
5. Use headphones photography
The trick is to use little-known iPhone photography as a remote shutter switch volume on the headset button. Remember when you first buy white Apple iPhone earphones? These headphones for the iPhone photography are very helpful. If you line the increase of the volume button press on the headset, the iPhone will take pictures. This decrease camera movement (hand and use a tripod) technique is very good; because you don't need to touch the iPhone can also take pictures.
6. Avoid moving objects
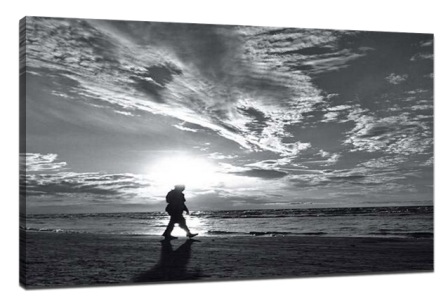
In addition to try to keep the iPhone not shake, let the subject still are also important, especially when insufficient light photography. Even if the following photographs don't reach a predetermined effect, it can be clearly shows that the subject moving film what results.
7. Increase contrast in the post-processing
In this paper, the other tips will help you in the actual photos of more clearly, techniques mentioned in this section is to let you through the way of post processing to make a little modification makes the appearance clear the canvas prints. To increase contrast can obviously increase the picture clarity. High contrast images appear more clear reason is to increase contrast (especially in black and white photos) highlight pictures and part of the separation line. However, only increase the contrast and the photo into a black-and-white photograph can create very clear photos,
Recent Posts
-
What Are Canvas Photo Prints? The Ultimate Guide to High-Quality Prints for Your Photos
In recent years, canvas photo prints have become one of the most popular ways to display cherished p …21st Feb 2025 -
Affordable Large Canvas Prints: How to Find Cheap Canvas Prints Without Compromising on Quality
If you’ve ever thought about decorating your space with large canvas prints, you might have he …18th Feb 2025 -
Cheap Canvas Prints for Painting: Affordable Art Supplies for Every Artist
For artists, finding high-quality yet affordable materials is essential to fueling creativity withou …17th Feb 2025